Midjourney V6 Parameters: The Current Version Guide I Actually Use In 2026
I keep a sticky note next to my monitor with six Midjourney flags written on it. After three years of running V4, V5, V6 and now V6.1 for client work, those six flags do roughly ninety percent of the heavy lifting in every render I ship. The rest of the parameter list is interesting trivia, not daily tooling.
If you have been pasting flag combinations from old Reddit threads and wondering why your renders look nothing like the examples, this guide is for you. Most of what is floating around online still describes V5 behavior, and V6 quietly changed almost every default in ways that matter.
What follows is the parameter map I work from in 2026. Real defaults, real use cases, the combinations I run, and the flags I have stopped touching entirely. If you want the foundational prompting mindset that sits underneath all of this, my Midjourney prompts guide covers the writing side. This post is the technical companion.
Why V6 parameters behave differently from V5
The jump from V5 to V6 was not just a quality upgrade. The team rebuilt the text encoder, retrained the diffusion backbone, and rebalanced almost every default. A prompt that scored a beautiful render on V5 with stylize 750 will often look bloated and overcooked on V6 with the same flag. The model is more sensitive to your inputs because it understands them better.
This is the single most common reason people feel like their Midjourney results got worse after the V6 rollout. The model did not get worse. The old habits stopped being correct. Once you reset your defaults to V6 baselines, the renders start feeling intentional again.
The other shift is that V6 is far more literal than V5. If you write "a woman holding a red apple", V6 will give you exactly that with surprising consistency. V5 might have given you a woman near some fruit in a vaguely red environment. This literalness changes how much you need to lean on stylize and chaos to get creative variation, because the base model is already doing most of that creative interpretation work for you.
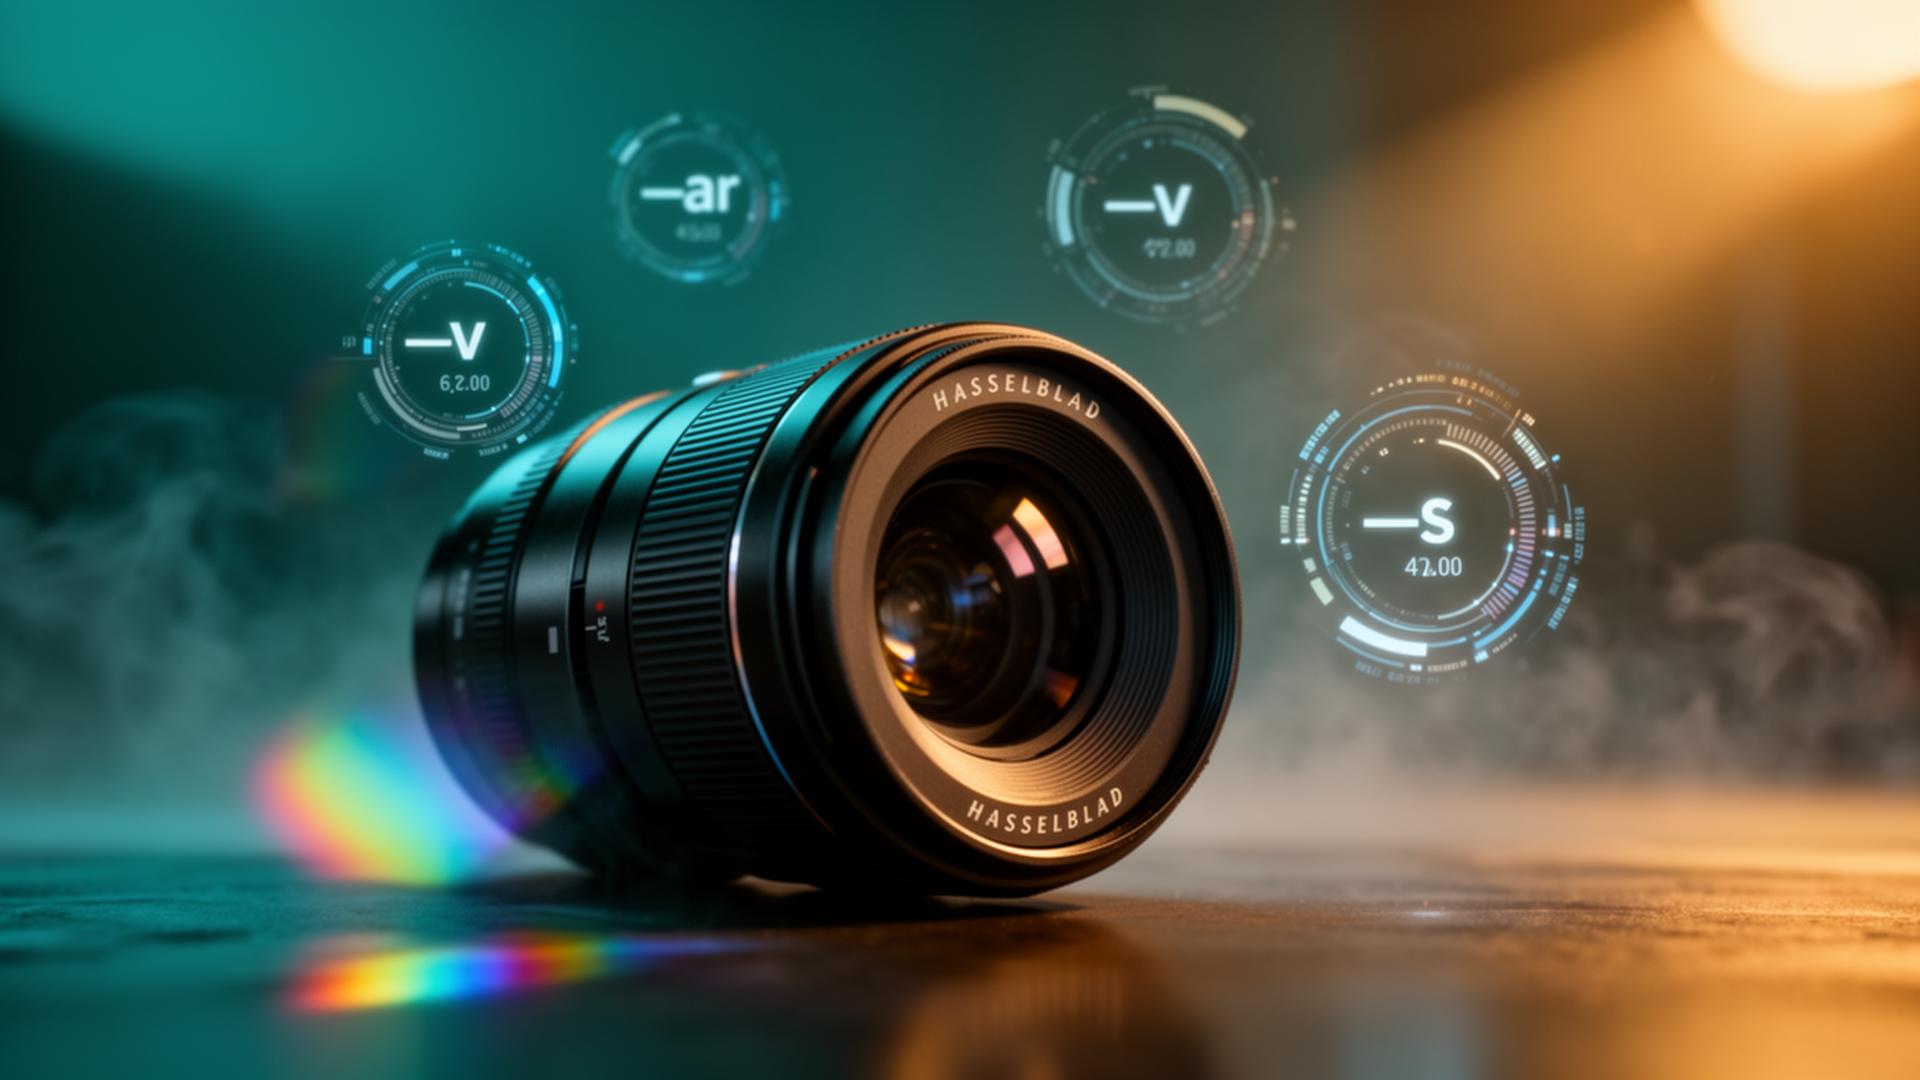
The version flag and why I always set it explicitly
The version flag is --v followed by a number. The current options that matter are --v 6 and --v 6.1, with the niji 6 variant available as --niji 6 for anime and illustrated work. Even though V6.1 is the default in the web app as of 2026, I still write the flag explicitly on every prompt I save.
The reason is reproducibility. Midjourney rolls out small model updates without changing the default version label, which means a prompt you ran last month might render slightly differently this month. Pinning the version is the only way to keep your prompt library stable across time. If a client asks me to make ten more in the same style as the hero shot from last quarter, I need to know exactly which engine produced that hero.
V6.1 is what I use for almost all photographic work in 2026. It handles skin, hands, and fabric better than V6 base. V6 base still has a slight edge for highly stylized illustrations because it is less aggressive about photorealism. Niji 6 is its own world and I only use it when the brief is explicitly anime or manga.
Aspect ratio is a creative decision, not a setting
The aspect ratio flag --ar is the single parameter that changes composition the most. Most people treat it as an export setting at the end. I treat it as the first creative decision before I even write the subject, because the canvas shape tells the model how to compose the scene.
A 1:1 square forces the model toward centered, balanced compositions. A 3:2 horizontal frame pushes it toward editorial photography conventions like rule of thirds and negative space. A 4:5 vertical frame pulls it toward portrait conventions with the subject occupying the upper two thirds. A 16:9 cinematic ratio invites landscape framing and atmospheric depth. A 9:16 vertical pushes toward social-first compositions with strong vertical lines.
What changes is not just the crop. The model literally generates different content for the same prompt at different ratios because it has learned that certain subjects appear in certain frames. A prompt for "a lone hiker on a ridge" at 16:9 will give you sweeping landscape with a tiny figure. The same prompt at 4:5 will give you a tighter shot focused on the hiker. Same words, different image, because the aspect ratio reframed the model's interpretation.
The stylize flag and the V6 default that catches people off guard
The stylize flag --s controls how much creative liberty the model takes with your prompt. In V5 the default was 100 and most creators ran 250 to 750 for richer results. In V6 the default is still 100 but the meaning has shifted, because the base model is already doing more interpretation under the hood. Running 250 on V6 produces results that feel comparable to 500 on V5.
My personal defaults look like this. For client photography where I want the render to follow my prompt almost literally, I run --s 50 or sometimes --s 25. For editorial work where I want some artistic interpretation, I stay at the default 100. For illustrative or painterly work where I want the model to invent texture and mood, I go to 250. I almost never go above 500 in V6 because the results start drifting toward kitsch.
The mistake I see most often is people copying old V5 stylize values into V6 prompts. If your renders look overcooked, melodramatic, or weirdly saturated, drop your stylize value first before you change anything else in the prompt. It will fix more problems than rewriting the words.
Chaos is the secret weapon for ideation
The chaos flag --c controls how much variety appears across the four tiles in a single grid. The default is 0, which gives you four very similar interpretations of your prompt. Raising it to 25 gives you noticeably different angles and compositions. Pushing it to 50 or higher gives you four meaningfully different ideas from one prompt.
I use chaos in two specific moments. The first is at the start of a project when I am still exploring direction and want to see how wide the visual range can go. Running the first prompt with --c 50 gives me a much faster sense of what the model thinks the brief looks like, and often surfaces a composition I would not have thought to write.
The second moment is when I feel stuck in a local maximum. If I have run a prompt eight times and every grid feels like a minor variation of the same image, dropping --c 35 onto the next run usually breaks me out of the loop. Once I have found the direction I want, I drop chaos back to 0 and iterate with single variable changes.
Style raw is the flag that quietly fixed my photography
The --style raw flag was the single biggest quality jump for my photographic work when V6 shipped. Without it, Midjourney applies its default house aesthetic, which is slightly painterly, slightly overprocessed, and excellent for fantasy or editorial illustration. With --style raw applied, the model strips that house style and gives you something much closer to a clean photographic render.
I run --style raw on roughly seventy percent of my prompts. Every product shot, every portrait, every documentary style scene. The only time I drop it is when I am intentionally chasing the Midjourney look for stylized work, or when I am running fantasy and illustration prompts where the default aesthetic actually helps.
One detail people miss is that --style raw also changes how stylize behaves. Combined with --s 50 you get an almost forensic literalness to your prompt. Combined with --s 250 you get a balanced editorial photograph with some artistic interpretation. The two flags interact, and learning that interaction is what separates competent users from creators who can hit a target style on the first or second try.
Style references changed prompt engineering forever
The style reference flag --sref followed by an image URL is the most important parameter Midjourney has shipped since V4. It lets you pin a visual style by pointing at one or more reference images, and the model will apply that style across your new prompts. This is the closest thing to consistent brand work the platform has ever offered.
The way I use it is simple. I keep a folder of reference images that match the visual identity for each recurring client, upload them to Discord or the web app, grab the resulting URLs, and paste them after --sref on every prompt for that client. The brand consistency this unlocks would have required hundreds of words of style description in V5, and it would have failed half the time.
You can also stack multiple references with --sref url1 url2 url3 to blend styles, and you can control how strongly the reference influences the render with --sw followed by a number from 0 to 1000. The default style weight is 100. I usually run between 75 and 200 depending on how much I want the reference to dominate versus inform.
The flags I have quietly stopped using in 2026
There are several parameters I used heavily in V5 and earlier that I now almost never touch. The quality flag --q is one of them. In V6 the default already runs at full quality and lowering it just to save GPU time produces noticeably worse renders for a tiny saving. I leave it alone.
The seed flag --seed was useful in V5 for reproducing exact images, but V6 added the style reference system which is far more practical for consistency. Unless I am doing very specific scientific reproducibility work, I no longer pin seeds.
The weird flag --weird is fun for art exploration but rarely useful for client work. The tile flag --tile is great for textures and pattern design, but it is a niche use case rather than daily tooling. The repeat flag --r lets you run the same prompt multiple times in a single command, which is a workflow convenience rather than a creative parameter. I mention these so you know they exist, not because you need them on day one.
The combinations I actually run for client work
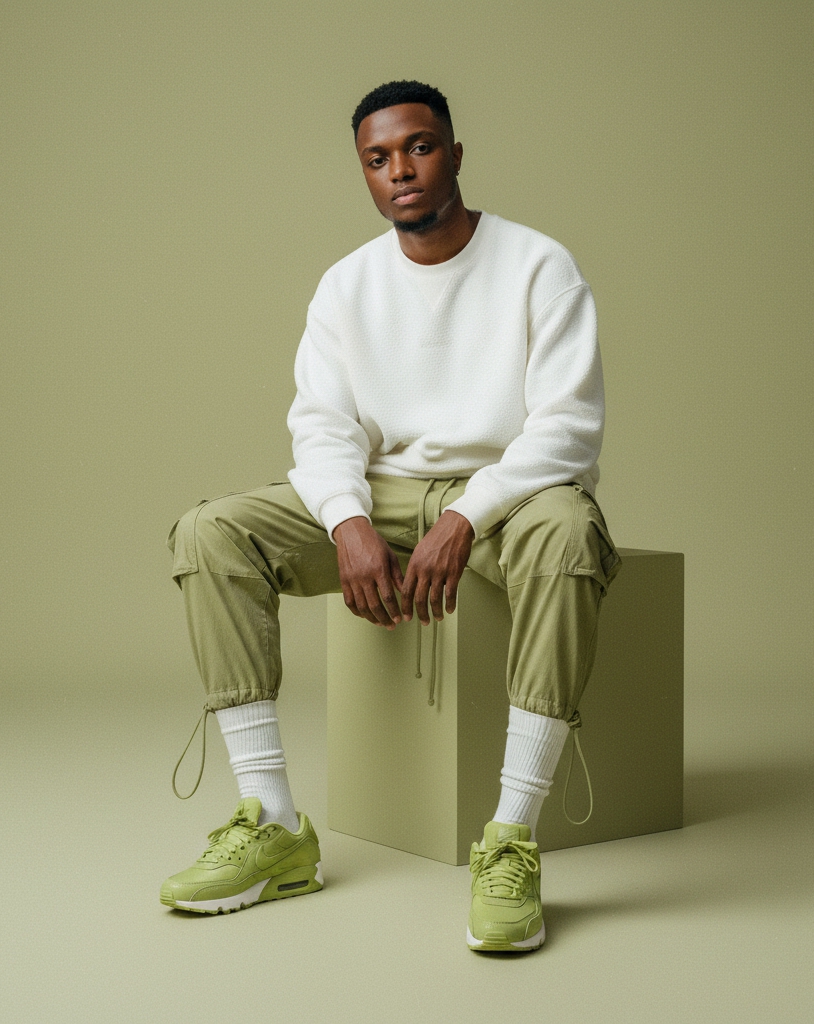
For editorial portrait photography I run --ar 4:5 --style raw --s 50 --v 6.1, optionally with a style reference if the client has a brand mood board. For cinematic landscape work I run --ar 16:9 --s 150 --v 6.1 without style raw because I want the slightly painterly atmospheric quality the default style gives. For product shots I run --ar 3:2 --style raw --s 25 --v 6.1 with --sref pointing at the brand reference image. For social square content I run --ar 1:1 --style raw --s 100 --v 6.1.
The pattern is that aspect ratio matches the deliverable, style raw appears whenever I want photographic neutrality, stylize stays low for literal work and climbs for atmospheric work, and the version is always pinned. These four levers cover almost every brief I get. The other flags exist for edge cases.
If you are starting from scratch today, build your own version of this table. Pick the four or five use cases you actually render for, write down the flag combination that works for each one, and treat it as your personal parameter library. It will save you more time than any prompt engineering trick.
How I debug a render that is not working
When a prompt fails, I run a quick mental checklist before touching the words. First, is my stylize value appropriate for V6 rather than carried over from V5 habits. Second, am I using style raw when I should be, or omitting it when the default aesthetic would help. Third, is my aspect ratio matching the composition I want, or am I fighting the canvas. Fourth, is my version pinned so I know what engine I am actually talking to.
About eighty percent of the time, fixing one of those four things resolves the issue without changing the prompt text at all. The remaining twenty percent is genuine prompt rewriting, and that is where the writing side from my prompts guide takes over. Parameters set the stage. Words give the performance. Both matter, but they are different skills.
The faster you learn to separate "the parameters are wrong" from "the words are wrong" the faster every Midjourney session feels. Most beginners conflate the two and end up rewriting prompts when they should have been adjusting flags, or vice versa.
What to do with this guide today
Pick one project you are working on this week and write down the parameter combination you will commit to for that project before you write a single prompt. Treat the flags as the production constraints of a small photoshoot, and the prompt text as the creative direction inside those constraints. Run three rounds with the same parameters and only iterate on the words. You will learn more about how V6 actually behaves in those three rounds than in three weeks of random experimentation.
If you want a head start on the writing side, our free AI prompt generator will scaffold a first draft using the same subject-style-atmosphere structure I described above, and the image prompt templates library gives you proven starting points you can remix without staring at a blank box. For the official parameter reference whenever Midjourney ships an update, the Midjourney documentation is the source of truth.
The creators who get consistently good results on Midjourney are not the ones with secret prompts. They are the ones who treat parameters as a discipline, run small experiments, and keep a personal library of what works for their specific use cases. Build that library starting today and your next hundred renders will outperform your last thousand.
Related articles
Midjourney Prompts Guide 2026: How To Actually Write Prompts That Render Like A Pro
Most Midjourney guides repeat the same surface-level advice. This is the one I wish I had when I started, written after thousands of renders and a long list of failures.

ChatGPT Prompt Engineering Guide 2026: How I Actually Get Useful Answers Every Time
Most ChatGPT prompt guides hand you a list of magic words. This is the one I wish I had, written from two years of using GPT-4 and GPT-5 in real client work.
Gemini Prompt Guide 2026: How I Actually Use Google's Model For Real Work
Gemini is not ChatGPT in a Google coat. It rewards a different style of prompting and most guides online still miss that. Here is what actually works in 2026.
Claude Prompt Engineering Guide 2026: How To Get Editorial Grade Output From Anthropic's Model
Claude rewards careful writing more than any other frontier model. Here is the exact way I prompt Sonnet and Opus when I need editorial quality output the first time.
Sora 2 Prompts: How To Write Cinematic Video Prompts That Actually Render In 2026
Sora 2 will happily render a five second masterpiece or a five second mess from almost the same sentence. After hundreds of generations on real client work, this is the prompt framework that consistently lands the masterpiece.